Testing Power Apps Cards for HR Challenges.
- Ana Inés Urrutia

- 7 nov 2022
- 2 Min. de lectura
As you can see I'm learning all sorts of Power Platform stuff. In this article, we will go through the new Cards (preview) functionality. I choose to try it out with a simple scenario.
Let's create a simple card to gather information about food allergies.
Log into make.powerapps and from the menu on the left select Cards. Then go to +Create a card.

A new tab will open and you'll need to name your card. I used HR and then renamed it to HR_FoodAllergies. Once you are done, select Create.

This screen will show, which means that everything is ok. It can take up to a minute, but I promise it won't take too long.

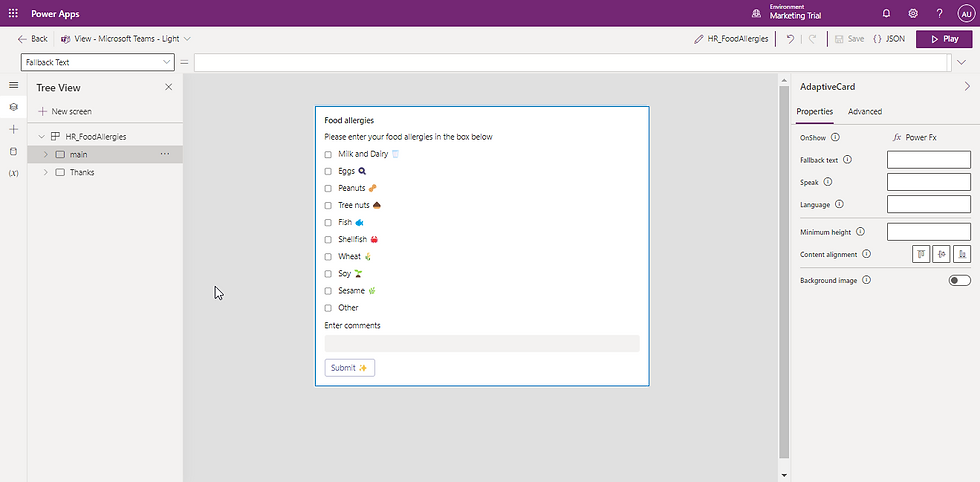
Power Apps will load a screen similar to the one you'll find below. It's pretty simple to start adding your components to the card.

The components you'll find below are:
Text label
Check box x 10
Text input x1
Button

This is how the card will look like. As you can notice, we have two screens:
The card itself
A thank you note after the user press Submit.
Here is the second screen I was talking about. As you may already know, you will need an URL if you want to add an image and if you don´t feel like that's a good idea, you can add text or other components.

You will need to link both cards so the second one will appear after an action is performed. As you can see in the screen below, in the right pane you'll find Properties, under Screen select the second screen.

Once everything is ok, this is the preview of your card. You can try it out before sharing into Teams. You can even select the light or dark mode :)

Select the Send button and copy the link.

Once you posted in Teams, this is how it will look like.

Let's see the card in action.
Known errors

When trying to post the card in Teams I was facing this issue and it was driving me crazy, I asked for help and this is the way you can sort this issue.
Go to the tree vision, choose from the dropdown the Description field, and type a brief description. This will solve the issue.

If you want to learn more about Cards for Power Apps I recommend this resource: Cards for Power Apps overview (preview) - Power Apps | Microsoft Learn


Comentarios